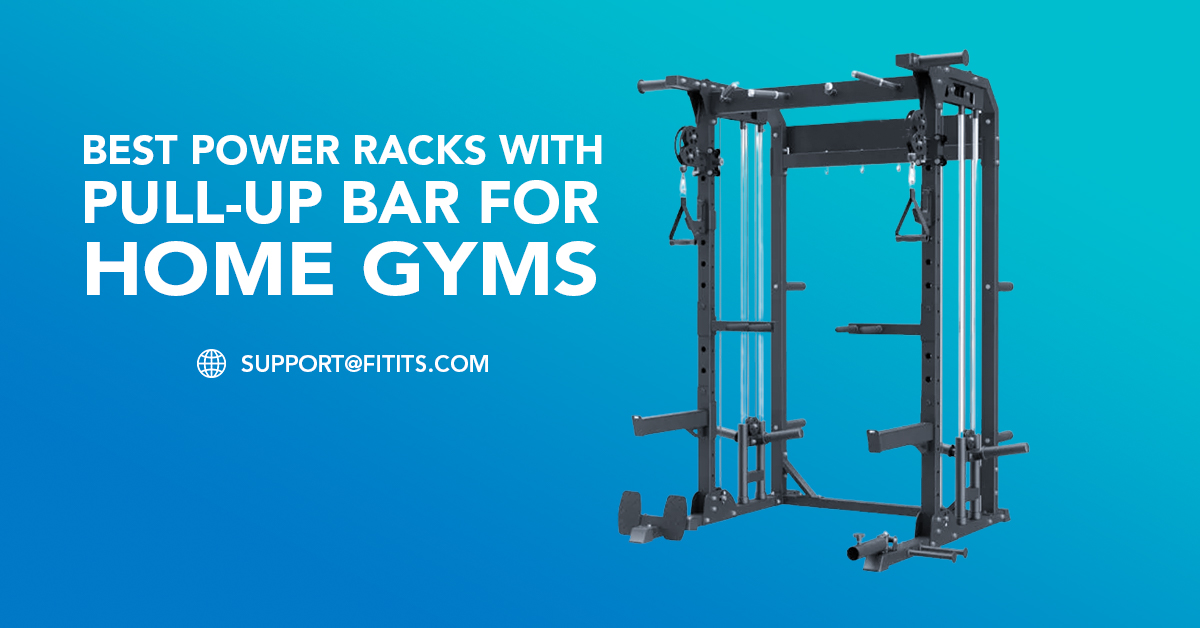
For people who are really serious about getting stronger, the home gym is more than just a place to work out; it’s a safe haven. It’s a location where the only thing that matters is the iron, and there are no distractions. The power rack, which is the most important piece of equipment you will ever possess, is at the center of this sanctuary. It is not just a steel frame; it is a safe place to be, a place where you can do many things, and the quiet partner that gives you the confidence to set new personal records. A power rack is the clear demarcation between a place to work out casually and a place to train seriously.
The power rack, often called the power cage, is the best piece of equipment for working out alone. The four-post design makes a safe cage that lets you push your body to its limit on the most important exercises, like squats, bench presses, and overhead presses, without needing a human spotter. You may be sure that if you fail a rep, you won’t have to go to the hospital because of the adjustable safety pins or straps. The greatest power racks for home gyms are the most important thing you can get for your long-term strength, safety, and progress.
This complete guide will be your go-to source for choosing the right power rack. We will explain the terms used in steel gauges and hole spacing, look at the features that set a cheap starting cage apart from a commercial-grade beast, and go over the best models on the market. We want to give you the information you need to pick the perfect centerpiece for your home gym, one that will be the strong base for your strength journey for many years to come.
The Cage of Confidence: How a Power Rack Changed Maria’s Workouts
Maria, a 38-year-old nurse, was determined to get stronger. She had a barbell and plates in her basement, but she was too scared to train. She would only squat and bench press weights that she was sure she could lift for at least five reps, never going near actual failure. The idea of getting pinned under a big squat or having a barbell stuck on her chest while doing out alone made her very anxious all the time. She was getting nowhere with her workouts, and they felt old. She was lifting, but she wasn’t pushing.
Her “gym” didn’t feel right and, more importantly, it didn’t feel safe. She understood she needed to find a better way to get over her plateaus. After doing a lot of study on how to keep a home gym safe, she chose to get a full power rack. She choose a strong model with pin-pipe safeties, a pull-up bar with multiple grips and Westside hole spacing in the bench area.
Putting together the power rack was a huge turning point in her training quest. When she first went into the cage to squat, she put the horizontal safety pins at a height that was just below the lowest point of her range of motion. The fear was gone for the first time. It was replaced by a strong feeling of safety. She put a weight on the bar that used to scare her, took a deep breath, and went down. She finished the set, but her legs gave out on the last rep. With a loud, reassuring clang, the barbell came down and settled safely on the steel pins. She just stepped out from under the bar, unharmed and strong.
This one thing changed everything for me. The power rack wasn’t only a piece of equipment; it was also a mental instrument. It let her fail if she wanted to. She began benching inside the cage, putting the pins just over her chest so she could finally push for that extra rep without worrying. She utilized the pull-up bar to make her back stronger and started doing rack pulls to increase her deadlift.
Maria’s strength went through the roof. In the first six months, she gained 50 pounds to her squat and 25 pounds to her bench press. The power rack turned her basement from a location where she was afraid to work out into a real place to build strength. It became her most important training companion, giving her the confidence to go for her potential without holding back.
The Unbreakable Code of Steel: The Anatomy of a Power Rack
At first glance, all power racks look like plain steel boxes. But the specifics of how they are built are what make them safe, long-lasting, and useful. These are the most important aspects you need to know about and think about when you’re looking for the best power racks for home gyms.
1. The Steel: The Base of Strength and Stability
The most important thing about a power rack is the quality of the steel. It tells you how strong the rack is overall and how it will feel when it’s full.
- Steel Gauge: This number tells you how thick the steel tubing is. In the realm of steel, a lower gauge number signifies the steel is thicker and stronger.
- 14-Gauge: This is the thinnest you should think about for a power rack. Good for people who are new to lifting and don’t lift too much.
- 12-Gauge: A good choice for the middle range. This is a common thickness for many solid budget and mid-range racks since it strikes a nice mix between strength and cost.
- 11-Gauge: The best of the best. This is the thickness used in high-end home gyms and professional training facilities. It is quite stiff and makes you feel completely stable.
- Upright Size: This is the size of the square steel uprights. The most popular sizes are:
- 2″x2″: Commonly found on racks that are cheap. Good enough for most novices.
- 2″ x 3″: This is a common size for mid-range and some high-end racks. The shape of the rectangle makes it stronger.
- 3″x3″: The best standard. The 3″x3″ 11-gauge steel uprights provide a lot of surface area, which makes them the strongest and most sturdy racks on the market.
- Size of the hardware: The bolts that hold the rack together are quite important. 5/8″ and 1″ are common sizes. Hardware that is bigger and thicker makes the connection between the parts more solid, which cuts down on sway and wobble.
2. The Safety System: The Most Important Part
Safety is the main reason to have a power rack. The safety system must be of high quality.
- Pin-Pipe Safeties: The old-school style. The pin is a solid steel rod that goes through the pipe, which is a hollow steel tube. They are robust, dependable, and not too expensive. The primary problem is that they produce a lot of noise and could hurt the knurling on your barbell.
- Safety Straps: These are strong nylon straps that attach to the uprights. They don’t make as much noise as pin-pipe safeties and are considerably easier on your barbell. They are a high-end feature that many lifters like since they protect the bar and keep the noise down.
- Flip-Down Safeties: These are strong steel arms that connect to the uprights and can be simply “flipped” up and down. They are quite strong and easy to change. They are commonly lined with UHMW plastic to keep the bar safe.
3. Adjustability and ergonomics: How the user feels
The way you use the rack as you work out is just as crucial as how strong it is.
- The distance between the adjustment holes on the uprights is called hole spacing.
- Standard 2-Inch Spacing: Most racks have this spacing, and it’s enough for most exercises.
- Westside Hole Spacing: This is the region of the uprights (the bench press zone) in the middle where the holes are only 1 inch apart. This is a very useful function since it lets you make little changes to the J-cup and safety height, which makes sure the bench press lift-off is correct and safe.
- Numbered Uprights: Having laser-cut numbers next to the holes is a huge help. They take the guesswork out of lining up your J-cups and safeties on opposite sides of the rack, which saves you time and trouble.
- J-Cups (J-Hooks): These are the parts that hold your barbell in place. They must be lined with high-quality UHMW plastic. This keeps the finish and, more crucially, the knurling (the grip) of your pricey barbell from getting scratched and worn down over time.
4. Stability and Footprint: Taking Control of Your Space
Your power rack needs to be solid, but it also needs to fit in the space you have for it.
- Weight Capacity: Choose a rack that can hold at least 700 pounds; good ones can hold more than 1,000 pounds. This gives your lifts a huge safety buffer.
- Size (Height, Width, Depth):
- Standard racks are between 80 and 90 inches tall. If you want to do pull-ups, make sure to leave at least a few additional inches of space above your head when you measure your ceiling height. If your basement has a low ceiling, you can get short racks that are about 72″ tall.
- Size: A normal footprint is about 48″ by 48″. Make sure you have adequate space around the rack to load plates onto a 7-foot barbell (you need at least 10-12 feet of total width).
- Freestanding vs. Bolt-Down: Most heavy-duty power racks are made to be anchored to the floor or a lifting platform for the best stability. More and more racks, on the other hand, have “flat-foot” designs, which have a longer base that makes them very stable without the need for bolts. This makes them perfect for renters or people who don’t want to drill into their concrete.
5. The Attachment Ecosystem: How to Build the Best Gym
A superb power rack is a base that can be changed to fit your demands.
- A power rack should always have a pull-up bar. To change up your back workout, look for a multi-grip bar that lets you choose between narrow, wide, and neutral grips.
- Check to see what other attachments are available for the rack to see if it may be expanded. Some common and useful add-ons are:
- Attachments for the Dip Station
- Attachments for Landmines
- Cable systems for lat pulldown and low row
- Horns for storing weight plates
- Band Pegs
The Market Titans: The Best Power Racks for Your Home Gym
We looked into the industry to find the power racks that are the safest, most useful, and greatest value for different kinds of lifters.
1. The REP Fitness PR-1100 Power Rack is the People’s Champion.
People in the home gym community talk about this rack all the time since it has so many great features and is so affordable that anyone can train safely and seriously.
- The Specs: A full four-post cage with a weight limit of 1,000 pounds, 12-gauge steel, a multi-grip pull-up bar, numbered uprights and optional lat pulldown/low row and dip attachments.
- The feel: sturdy and reassuring. It doesn’t feel cheap at all for a “budget” rack. It makes sure that all the big barbell lifts are safe.
- Why It Wins: The value offer is just the best. You may acquire a full home gym power cage with a high weight limit and a strong attachment mechanism for a price that is often lower than that of other companies’ half racks. For a lot of lifters, it’s the best “first and last” rack.
- Best for: people who are new to lifting, people who want to save money, and anyone who wants the most safety and flexibility for the least amount of money.
2. The Rogue R-3 Power Rack: An Overbuilt Behemoth
Rogue Fitness is known for making things that are tough and made in the USA. The R-3 is a little but powerful machine that has commercial-grade features in a home gym.
- The Specs: 11-gauge steel construction, 2″x3″ size, Westside hole spacing, a choice of pull-up bars, and a huge ecosystem of high-quality attachments. With a 24″ internal depth, it’s perfect for tiny areas.
- The Feel: This rack is rock solid. It doesn’t sway or wobble at all. The fit and finish are perfect. The Westside spacing for benching is a clear ergonomic benefit. This rack feels professional in every aspect.
- Why It Wins: It has Rogue’s famous build quality and precision engineering in a design that saves space. You can buy it once and use it for life.
- Best For: Serious lifters who want the best quality and accuracy, have a little bit of room, and are ready to pay for a top-of-the-line piece of equipment.
3. The King of Customization: REP Fitness PR-4000 or PR-5000 V2
For people who love working out at home and want to build their dream gym without making any compromises, REP’s high-end racks let you customize almost everything.
- The Specs: 3″x3″ 11-gauge steel, a huge range of height and depth options, many color choices, and 1″ or 5/8″ hardware. The attachment ecosystem is probably the biggest in the business, with built-in cable systems like the Ares and Athena.
- The Feel: This is the best home gym equipment. You can make it as small or as big as you want. It is very stable, and you can use the different attachments to turn your garage into a full commercial gym.
- Why It Wins: It has the same (or better) quality and modularity than the most costly brands, but it costs a lot less. You can make a training hub that is completely unique to you.
- Best For: The “prosumer” home gym owner, personal trainers, and anyone who wants a fully customizable, top-of-the-line heavy-duty power rack to serve as the centerpiece of an ultimate training space.
4. The Titan Fitness T-2 Series Short Power Rack is the best friend of people who live in basements.
Finding a rack that fits can be hard if you have low ceilings. Titan Fitness has a solution that is both durable and inexpensive.
- The Specs: It is usually about 71.5 inches tall, which makes it great for basements or areas with 7-foot ceilings. It is made of 2″x2″ 12-gauge steel and can hold up to 850 pounds.
- The Feel: This cage is strong and useful, and it has all the safety elements you need in a little vertical space. It lets you train securely in places where a full-height rack wouldn’t fit.
- Why It Wins: It directly fixes the problem of low ceilings without making safety or capacity much worse for the average lifter. The pricing makes it an extremely affordable choice.
- Best For: Anyone with ceiling height limits who needs a safe and practical power rack for foundational strength training.
Mastering Your Domain: How to Use Your Power Rack Well
A power rack is a useful tool. To get the most out of it, you need learn how to use it for more than simply squats and bench presses.
- Core Movements and Variations in the Cage
- Squats: The principal function. Use the safety pins to squat heavy with confidence.
- Bench Press: The safest technique to do it by yourself.
- Overhead Press (OHP): Start and end the movement from the J-cups, or do pin presses by pushing the bar off the safety pins from a dead stop.
- For a deadlift variant that puts extra strain on your upper back and grip, set the safety pins just below your knees.
- Inverted Rows: Place an empty barbell on a low setting and use it for a horizontal bodyweight pulling motion to improve your back.
- Barbell Rows: Many lifters find it simpler and safer to execute heavy barbell rows within the cage, as you can rest the bar on the safety pins between reps.
- Pull-Ups and Chin-Ups: Use the built-in power rack with pull-up bar to do one of the best upper body workouts there is.
- Care and Maintenance Over Time
- Check the bolts every few months with a wrench to make sure they are all tight. They can get a little loose over time as you use them.
- Check the Safeties and J-Cups: Check the plastic liners on your J-cups and safeties for wear and tear on a regular basis. They are meant to be replaced.
- Keep it clean: Wipe off the pull-up bar and other locations that get a lot of use. A clean gym is a more welcoming place.
In conclusion, your Fortress of Strength
The most important thing you can buy for your strength journey is a power rack. It turns a simple set of weights into a safe, effective, and limitless training space. It is your silent spotter, your structural anchor, and the key that unlocks your true physical potential by taking away the fear of failure. It gives you the power to train harder, heavier, and more consistently than ever before.
When you buy one of the best power racks for your home gym, you’re not just getting a steel cage. You’re investing in a lifetime of safe, productive training. You’re creating the heart of a personal sanctuary for self-improvement. Whether you choose an affordable, all-in-one package or a top-of-the-line modular system, you’re taking the most important step toward becoming the strongest version of yourself.
Are you ready to develop a strong base for your home gym? Check out our full library of equipment evaluations and strength programs at Fitits.com, or email our staff of home gym specialists at support@fitits.com for one-on-one help.
Questions That Are Often Asked (FAQ)
Q1: What sets a squat rack apart from a power rack?
A “power rack” (or power cage) is a four-post cage that you stand and lift inside of. A “squat rack” is usually a two-post half rack or squat stand. The main benefit of a power rack is that it is safer because its safety pins go across the cage and can catch a dropped bar in front of or behind you.
Q2: How much of a space do I need for a power rack?
You need to think about the height, the size of the footprint, and the work area.
Standard racks are 80 to 90 inches tall. Measure your ceiling and make sure you have at least a few inches of space above it. For basements, there are shorter racks that are about 72 inches tall.
Size: A typical power cage is about 4 feet wide and 4 feet deep.
Working Area: The most important size is width. For comfortable use, you need at least 10 to 12 feet of unobstructed space on either side of the barbell so that you can easily slide plates on and off.
Q3: What kinds of workouts can I do with a power rack?
You can safely do all the main barbell movements with a power rack, like squats, bench presses, overhead presses, and rack pulls. It’s also great for inverted rows, and almost every model comes with a power rack and pull-up bar for pull-ups, chin-ups and hanging leg lifts. You may add dips, lat pulldowns, and other exercises using attachments.
Q4: Do I really have to bolt my power rack to the floor?
Not all the time. Bolting a heavy-duty power rack to a concrete floor or lifting platform gives it the most stability possible. However, many newer “flat-foot” versions are made to be very stable for most users without being fastened down. Bolting down is a good idea if you plan to lift really high weights (more than 600 pounds) or use dynamic attachments that push sideways a lot.
Q5: What accessories do you need for a power rack?
Aside from the normal pull-up bar, the initial accessories that are usually the most useful are:
A dip station is a great way to work on your chest and triceps at the same time.
Weight Plate Storage Horns: These help keep your gym neat and tidy and add weight to the bottom of the rack, making it more stable.
Question 6: How much money should I set aside for a good power rack?
There is a lot to choose from. You can buy a great, safe, and flexible home gym power cage like the REP PR-1100 for between $350 and $500. Mid-range racks that are of higher quality and more durable usually cost between $600 and $900. High-end, configurable 3″x3″ 11-gauge racks from companies like REP, Rogue, or Sorinex start at about $900 and can cost a lot more depending on how they are set up and what attachments they include.